DK/SIMWORKS Caminha · PT
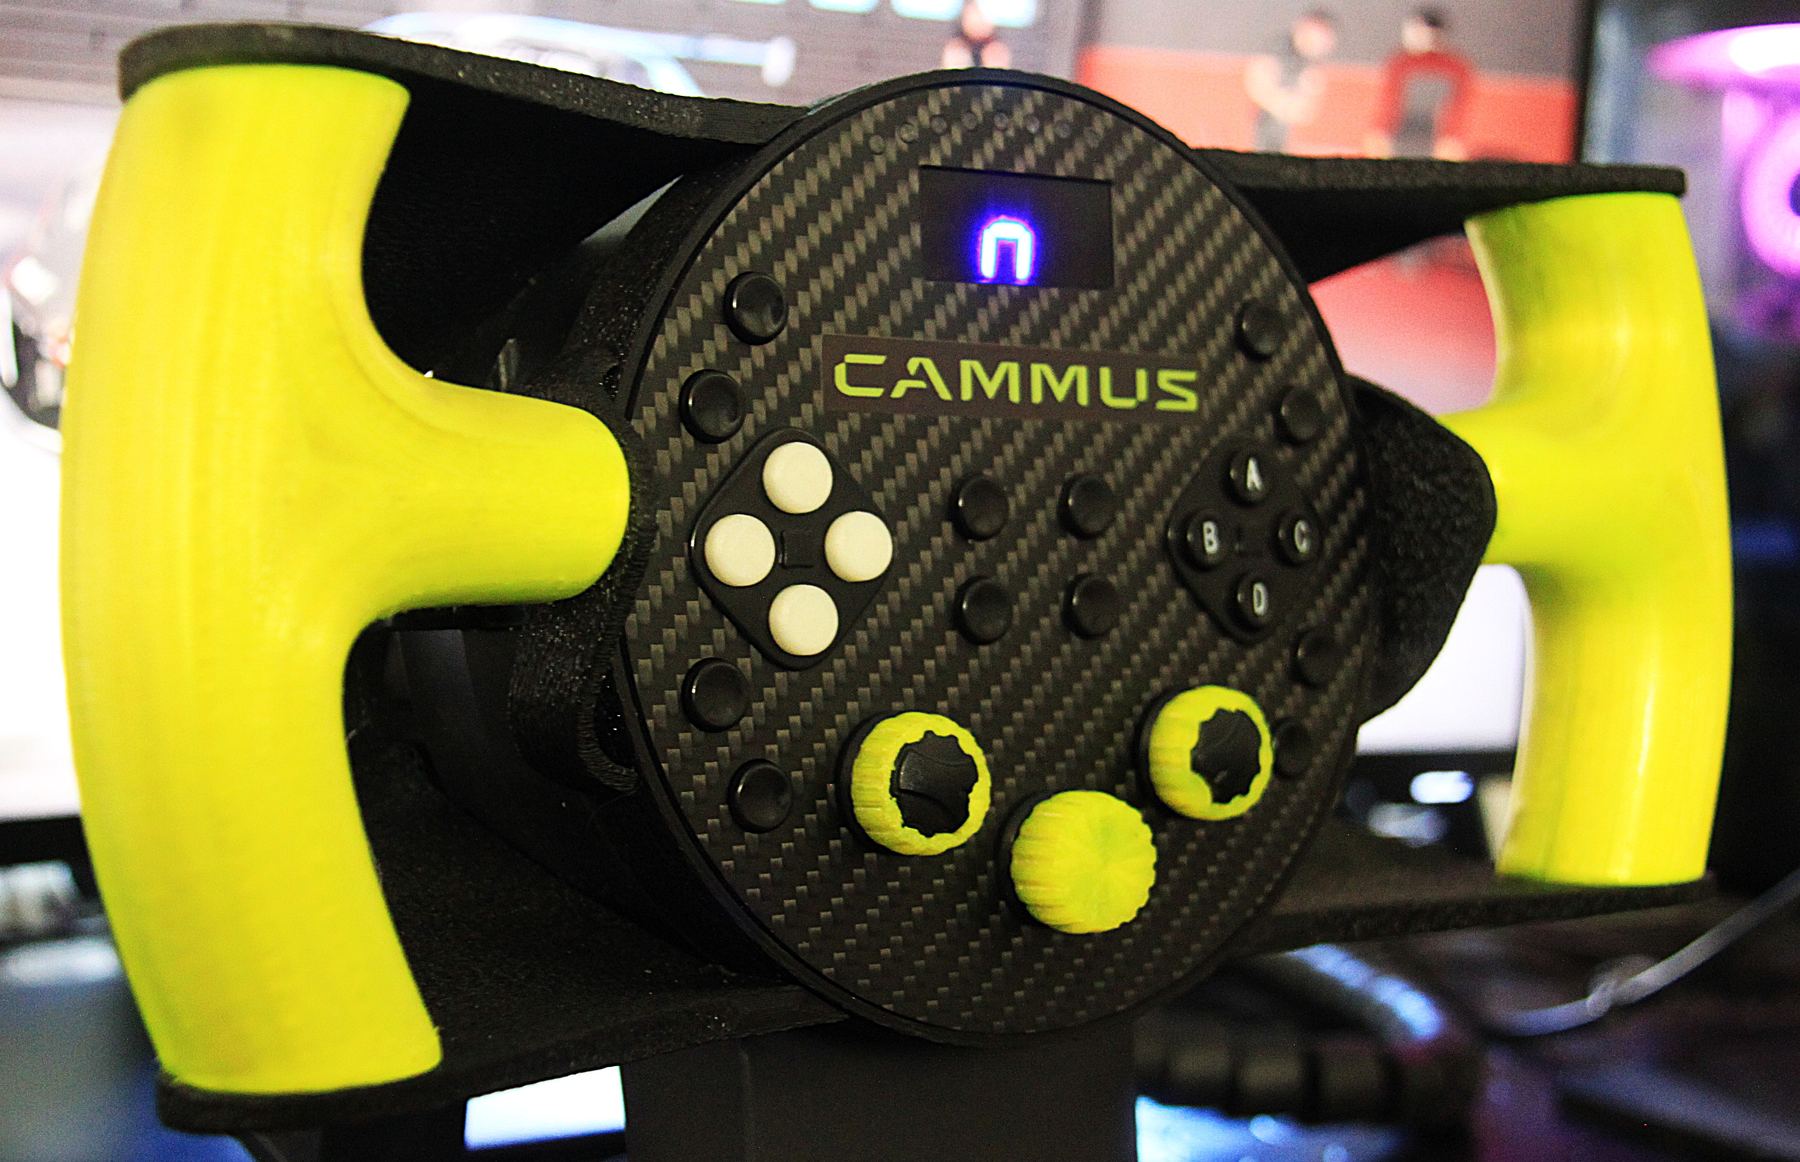
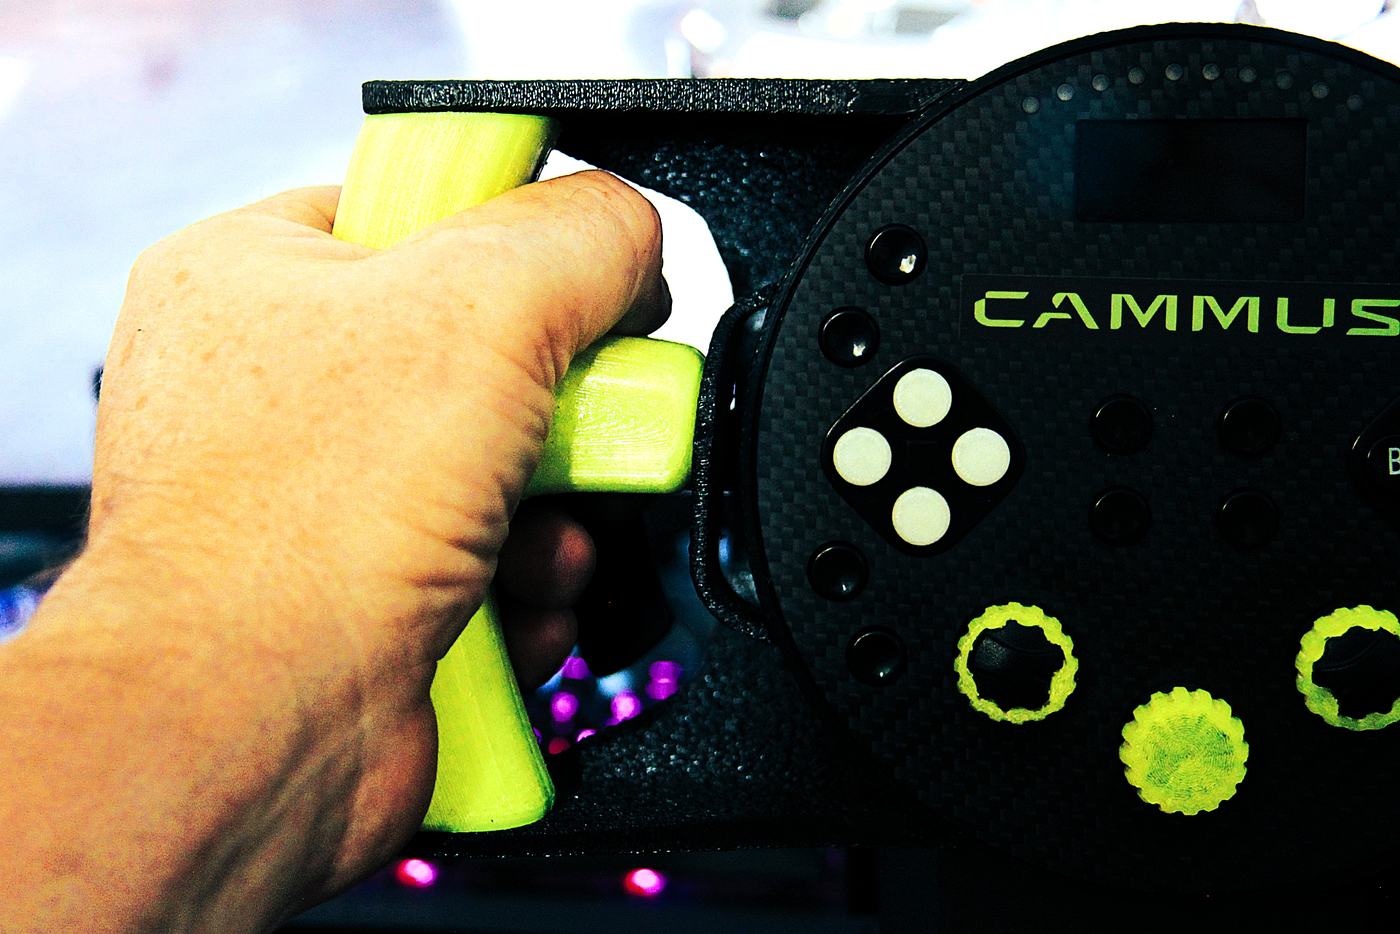
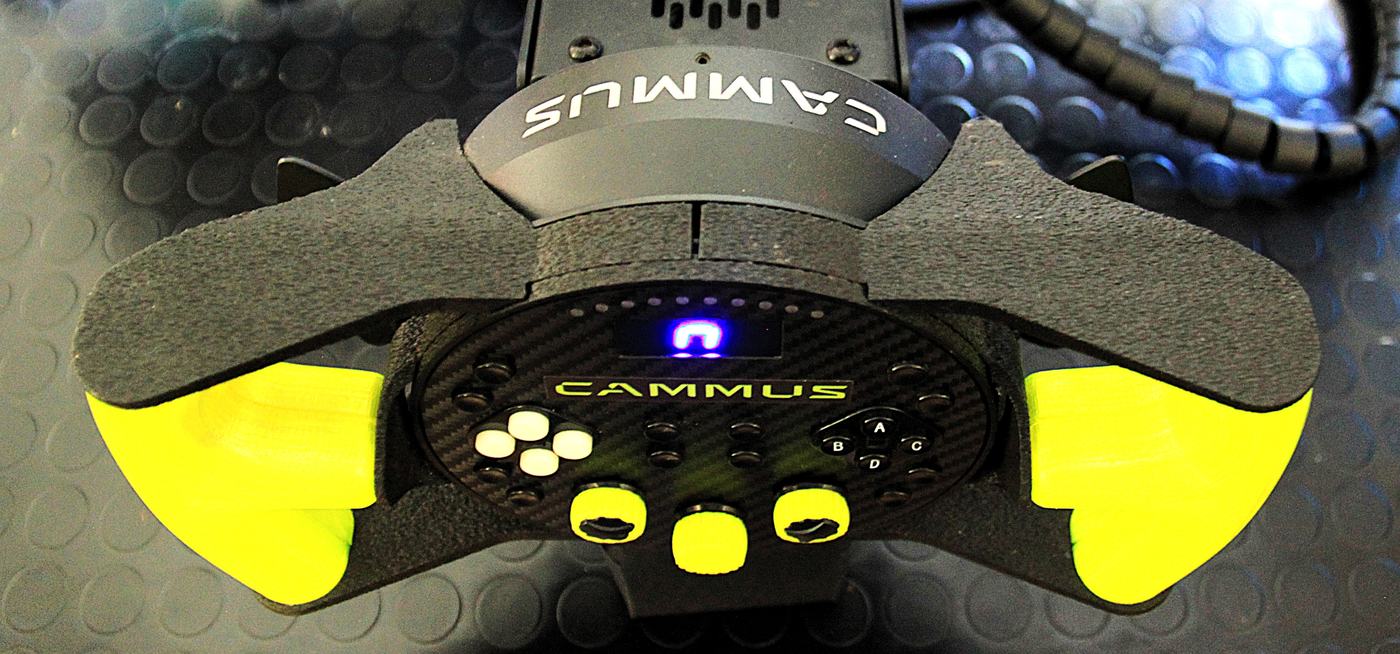
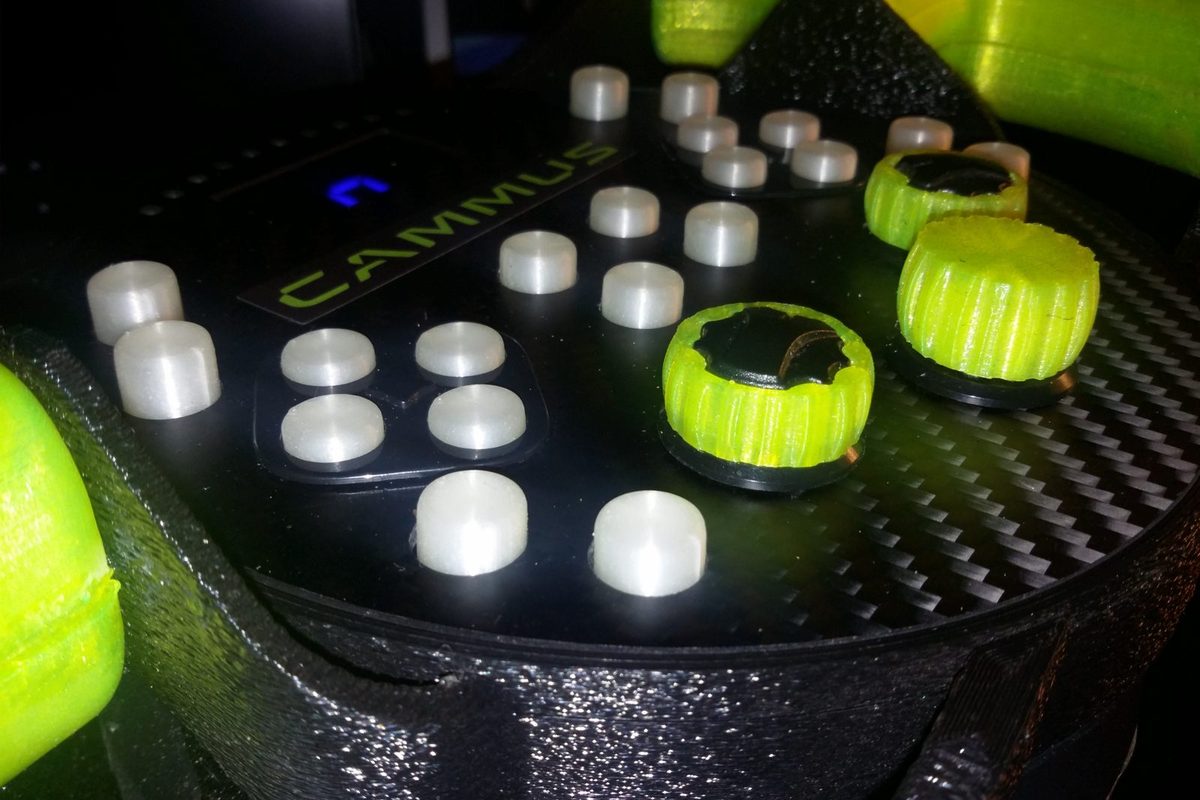
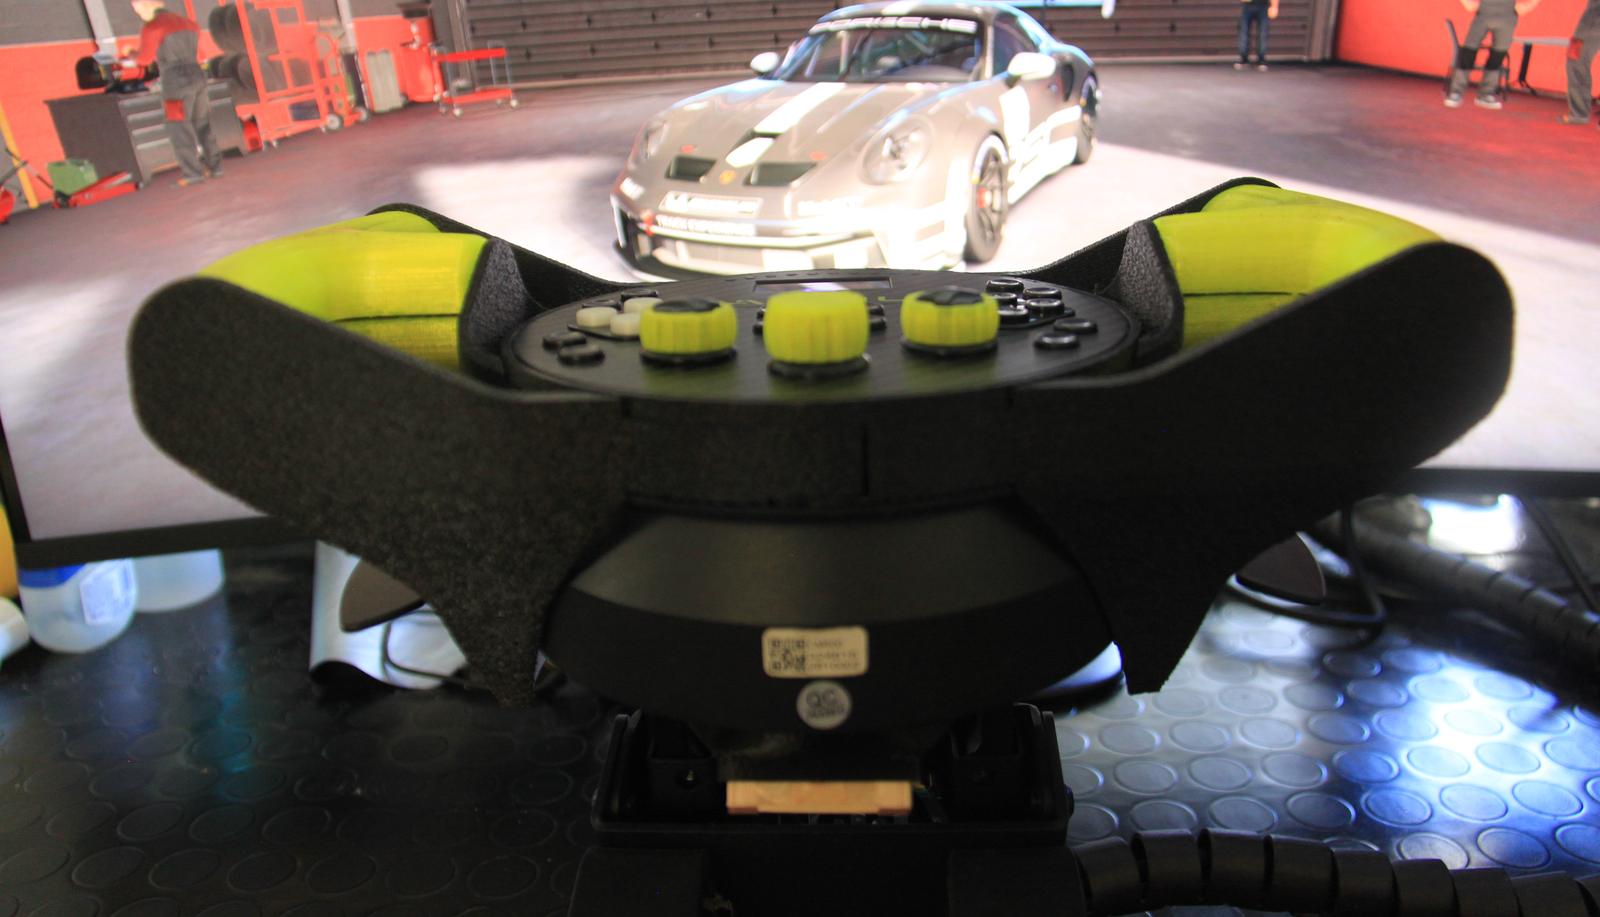
A CAMMUS C5 fitted with the GT conversion kit: black structure, lime grips, the original carbon face and buttons in the middle
For the CAMMUS C5

Turn your C5 into a GT wheel.

The C5's rim is part of the base — there is no quick release, so you cannot swap it. This kit bolts around it instead: proper GT grips at nine and three, and every button, knob, paddle and the display stay exactly where they are. Nothing cut, nothing drilled.

FITS  CAMMUS C5 only KEEPS  All 12 buttons · 3 knobs · D-pad · paddles · display TOOLS  Allen key · glue FILES  €29
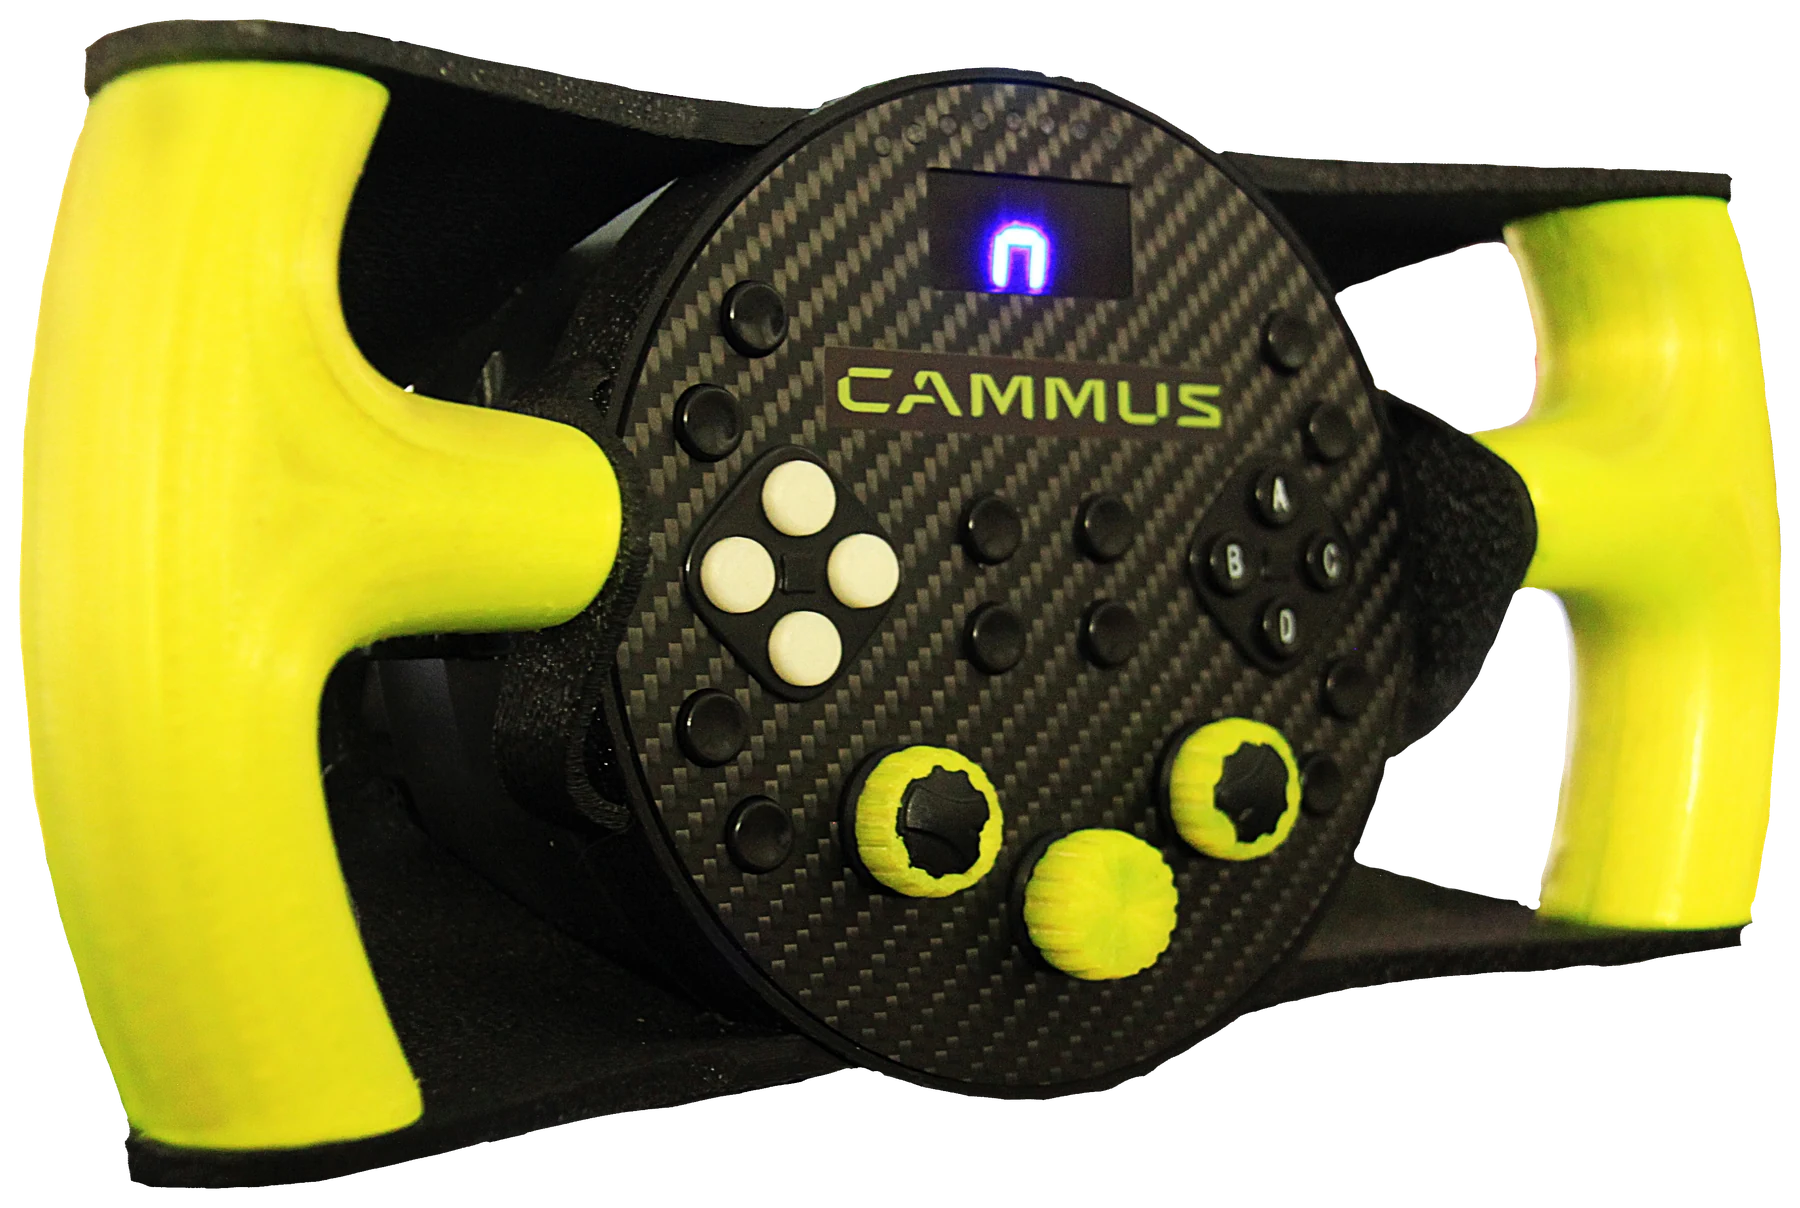
A CAMMUS C5 fitted with the GT conversion kit: black structure, lime grips, the original carbon face and buttons in the middle
The kit on my own C5: GT grips at nine and three, the original carbon face, buttons and display in the middle.

What you are buying

In plain terms
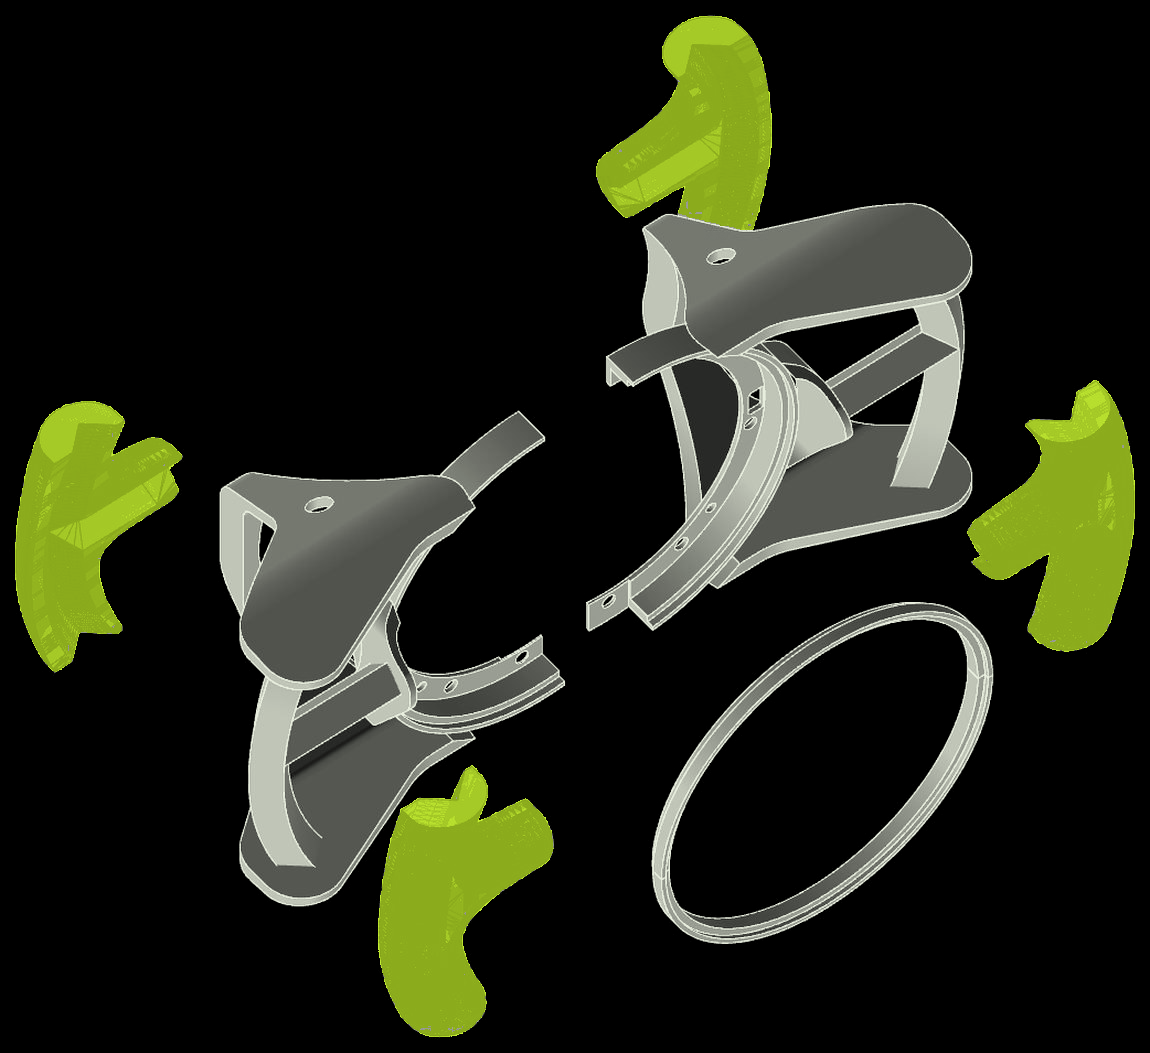
Exploded view of the kit: two black spoke plates, a clamp ring, and four lime grip sections
The problem

The C5 ships with a small round rim built into the base. It is fine for rally and drifting. For GT racing — ACC, iRacing GT3, LMU — you want your hands on two grips with an open bottom, and the C5 gives you no way to change it.

What the kit does

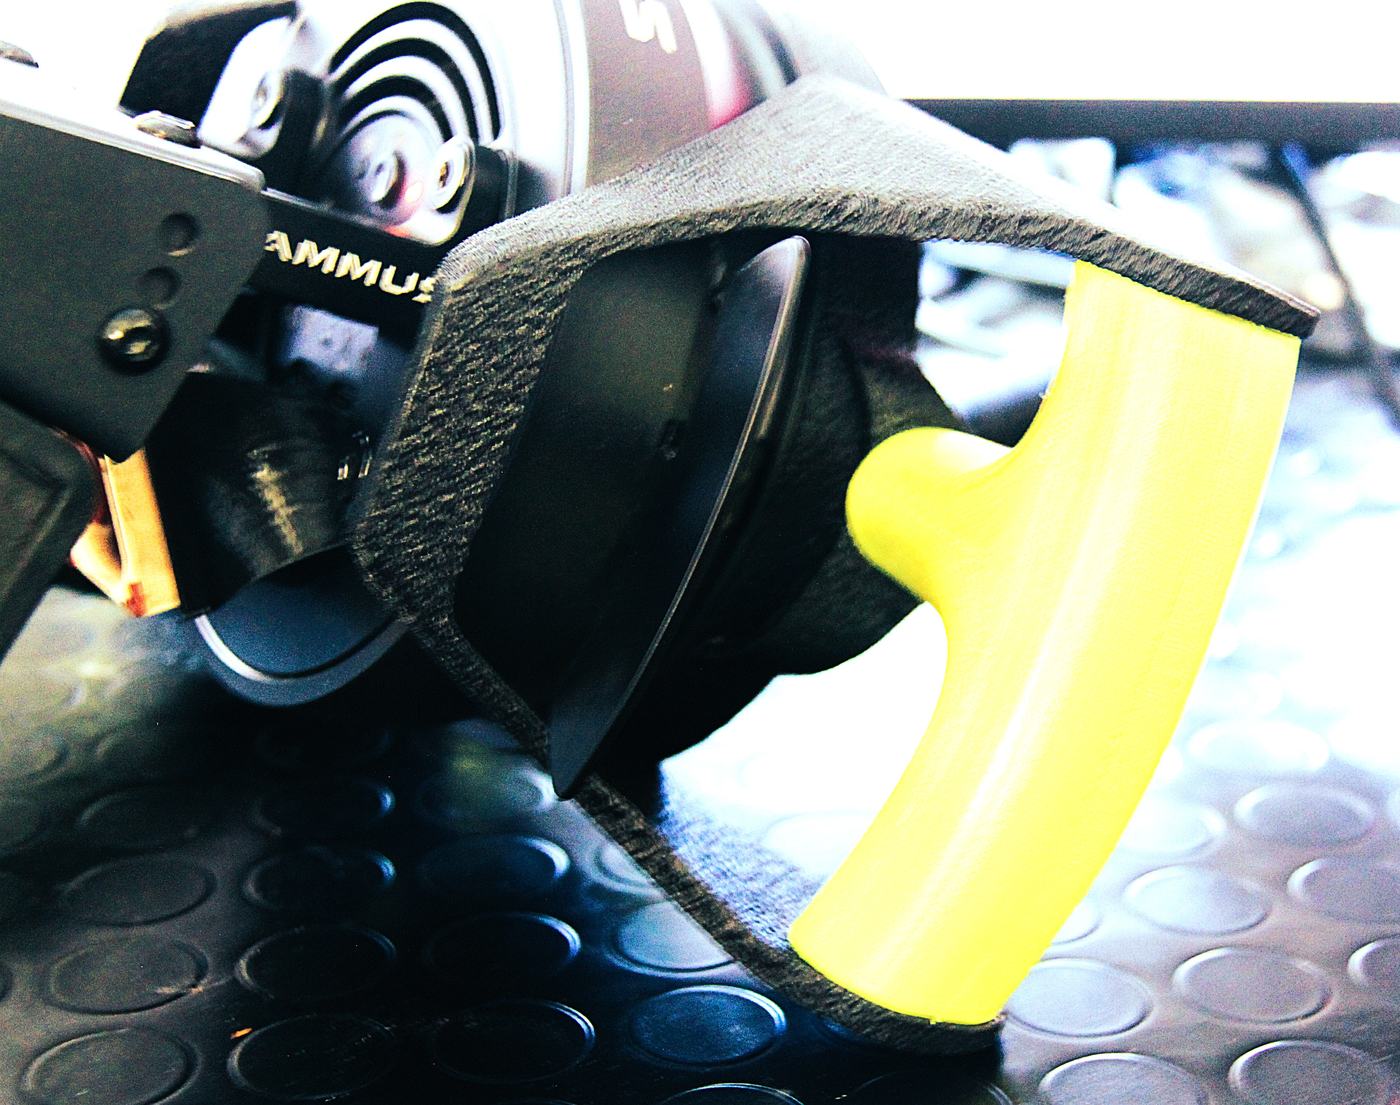
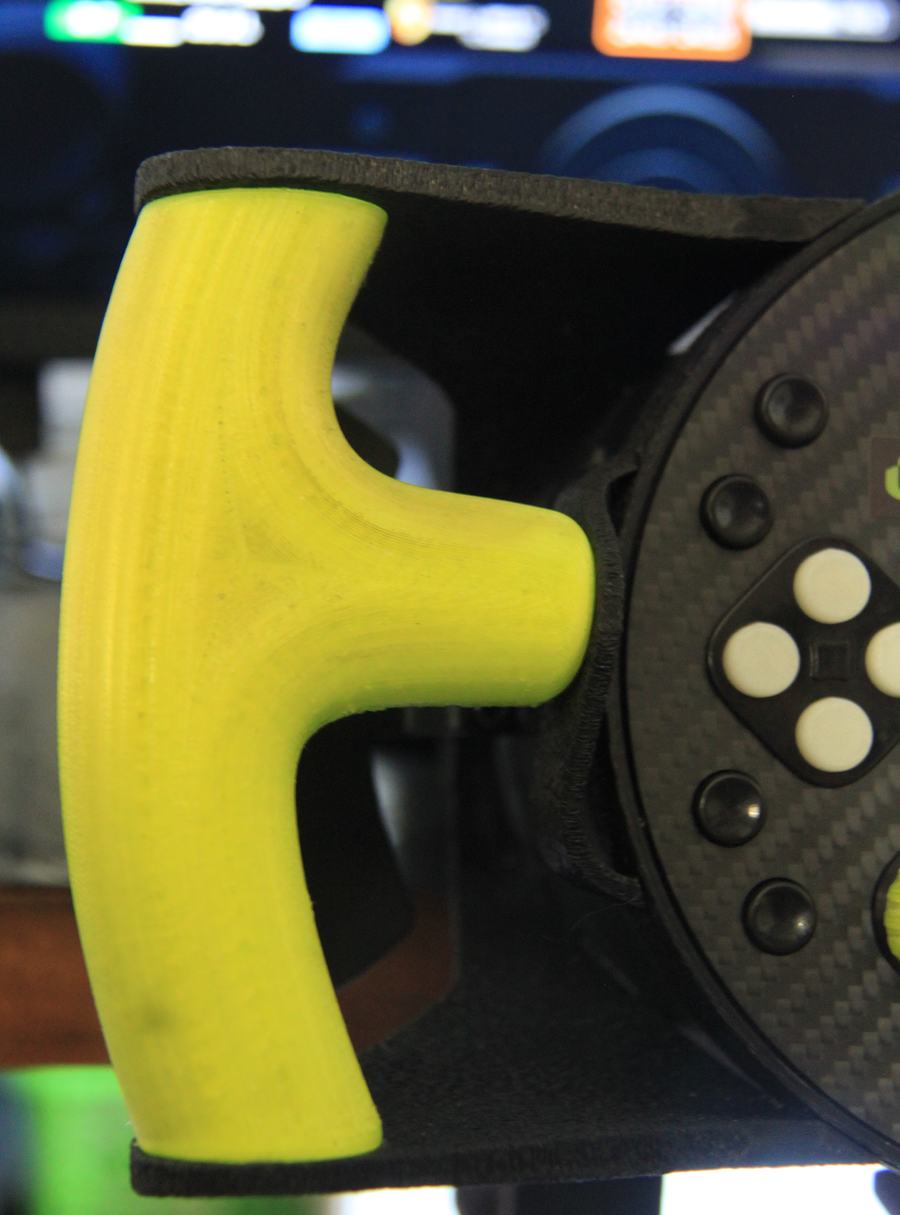
Two spoke plates close around the C5's body, held by the wheel's own screws. A ring clamps behind the original carbon face. Each grip is two halves that close around a spoke plate and are glued to each other. The carbon face, with all its controls, sits in the middle untouched. The round rim becomes a GT wheel.

What you get

Seven printed parts: left and right spoke plates, clamp ring, and two grip handles. Plus: knob caps for the three rotaries, button caps in three heights, and a PDF print guide with the tested settings.

How it fits

Apart from the grips, every part is only screwed, with the C5's own screws. No cutting, no drilling, no extra hardware. The only glue is between the two halves of each grip, which close around the spoke plate (for extra rigidity you can also glue the grips to the plates, and the plates and ring together, but I don't: unglued, a broken part is easy to swap). Then an Allen key and half an hour. It comes off the same way, and the wheel is exactly as it was.

The left and right spoke plates carry the steering force: your hands push on the grips, and the plates pass it into the C5's body through its own screws. That is why they are printed in PETG with 7 walls and thick top and bottom skins. Nothing on the C5 is cut or weakened.

The parts

One kit · three free add-ons
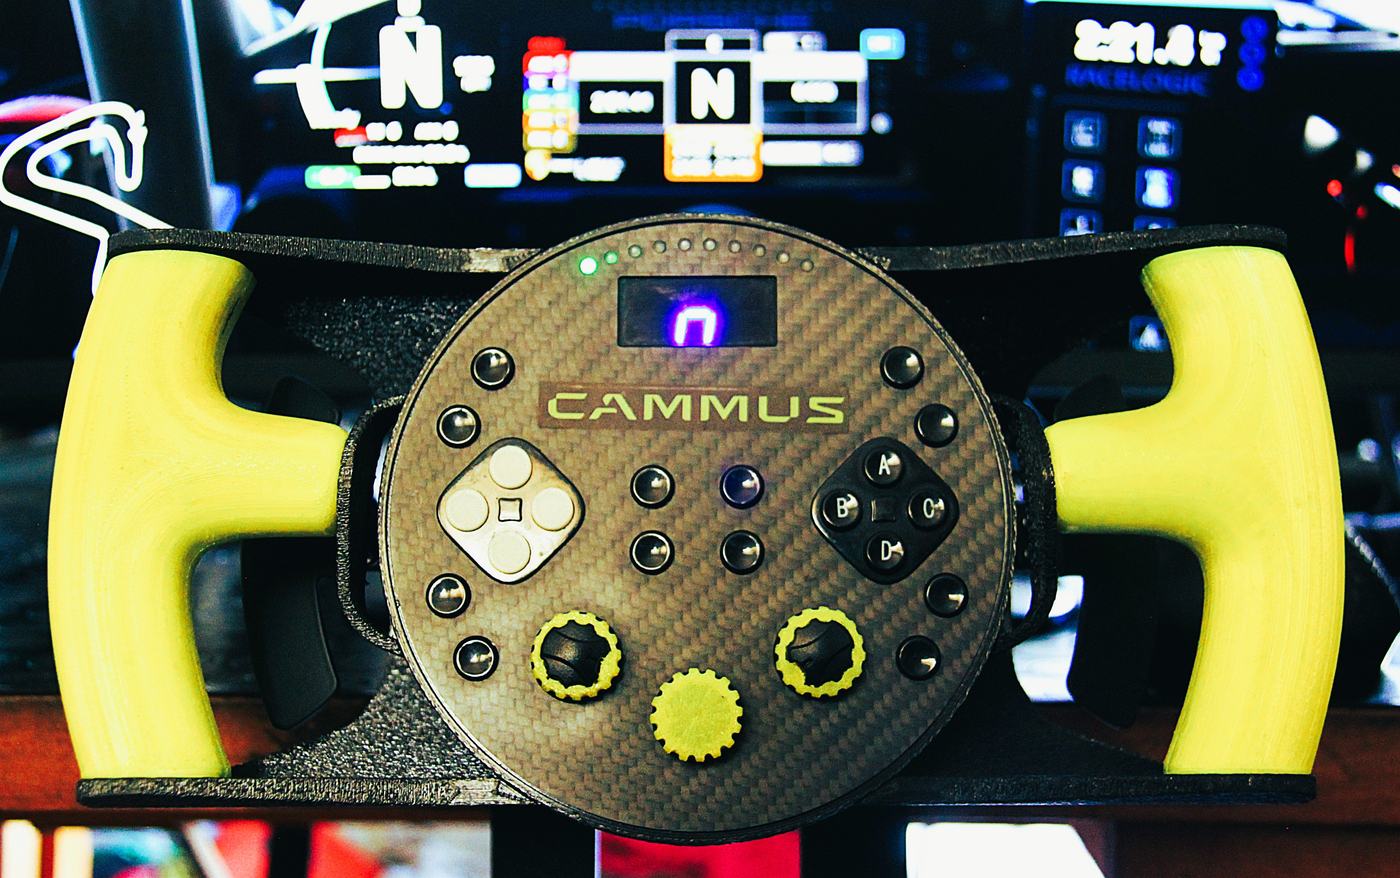
The lime grip and textured spoke plate beside the carbon face
DKS-01

GT Conversion KitReady

The kit described above: two spoke plates, clamp ring, two grip handles, knob caps and button caps. Structure in black PETG, grips and knob caps in TPU, button caps in PLA. A PDF print guide is included. The files come with tested print settings, so you open the 3MF and print.

Printed parts 7 + caps
Structure PETG
Grips TPU
Modifies the C5 No
Print time ≈23 h
Filament ≈445 g
€29STL + 3MF files
PDF print guide
+ the 3 free add-ons
Build yours
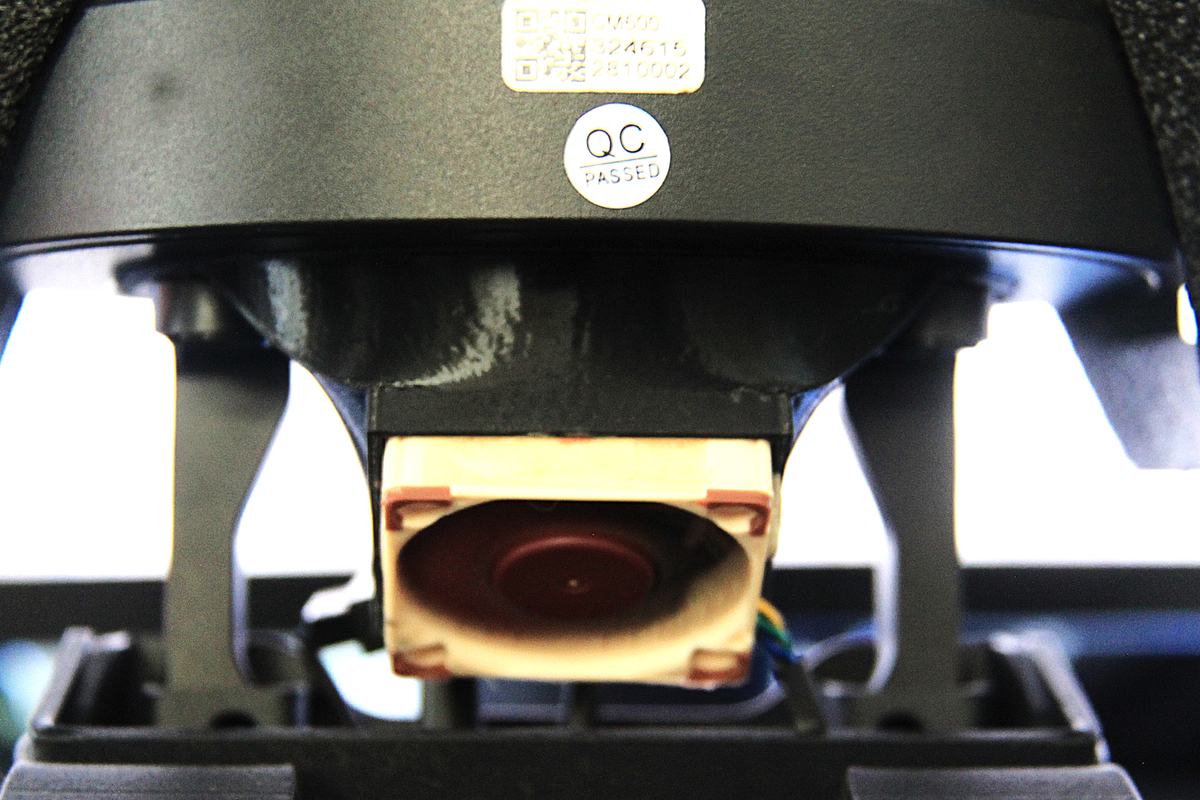
A Noctua fan fitted under the C5 in the printed shroud
DKS-FAN 01

Quiet Fan MountFree

The C5's stock cooling fan is loud. This printed shroud replaces the fan mount and takes a Noctua NF-A4x10 24 V — a 40 mm fan you can barely hear. Same cooling path, same airflow direction. The fan is not included; it costs about €15 anywhere.

Fan NF-A4x10 24V
Material Black PETG
Wiring Connector swap
Price Free

Needs a connector changed: the Noctua's 4-pin plug comes off and a 3-pin JST goes on, to fit the C5's fan socket. That means cutting and crimping on a 24 V line. If you have never crimped a connector, skip this one.

FreeThe most-asked-for
fix on the C5 forum
Download free · ZIP

Bought DKS-01? It is already in your download.

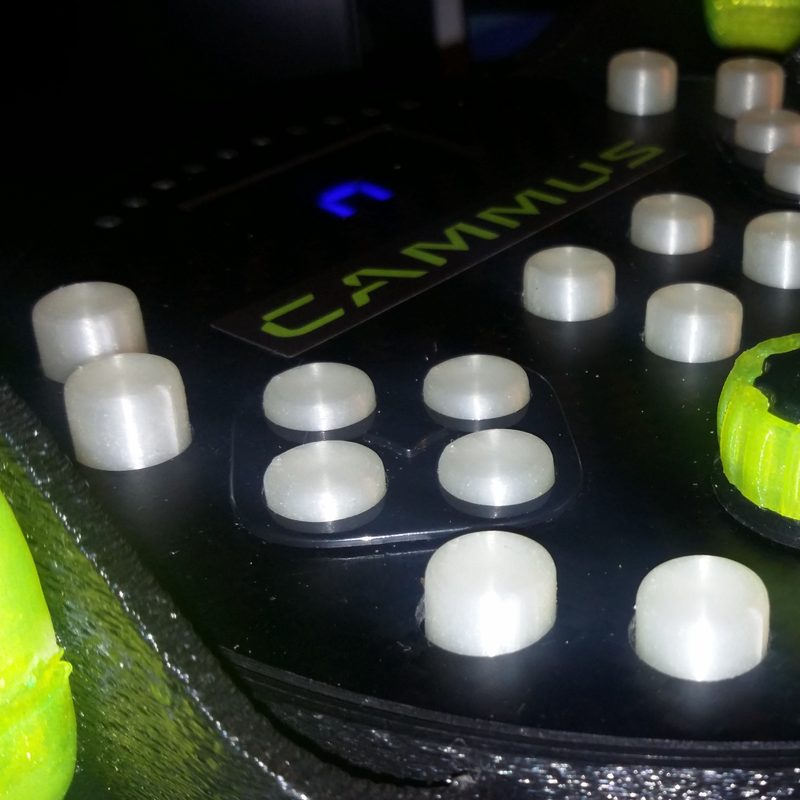
Glow PLA button caps in three heights on the C5's carbon face
DKS-BUTTONS 01

Button CapsFree

Caps that press onto the C5's buttons. The stock buttons sit flush with the carbon face and are hard to find without looking. These raise them — taller caps for the buttons you hunt for blind, shorter for the ones you catch by accident. Three heights (9, 10 and 12 mm) are in the files, and you can set your own.

Fits All 12 buttons + D-pad
Full set 41 min
Material Glow PLA (tested)
Price Free

Print them in glow PLA and they charge off the room light. An LED backlight that lights them from behind is being tested on my own wheel.

FreeThe full set in 41 minutes
Download free · ZIP

Bought DKS-01? It is already in your download.

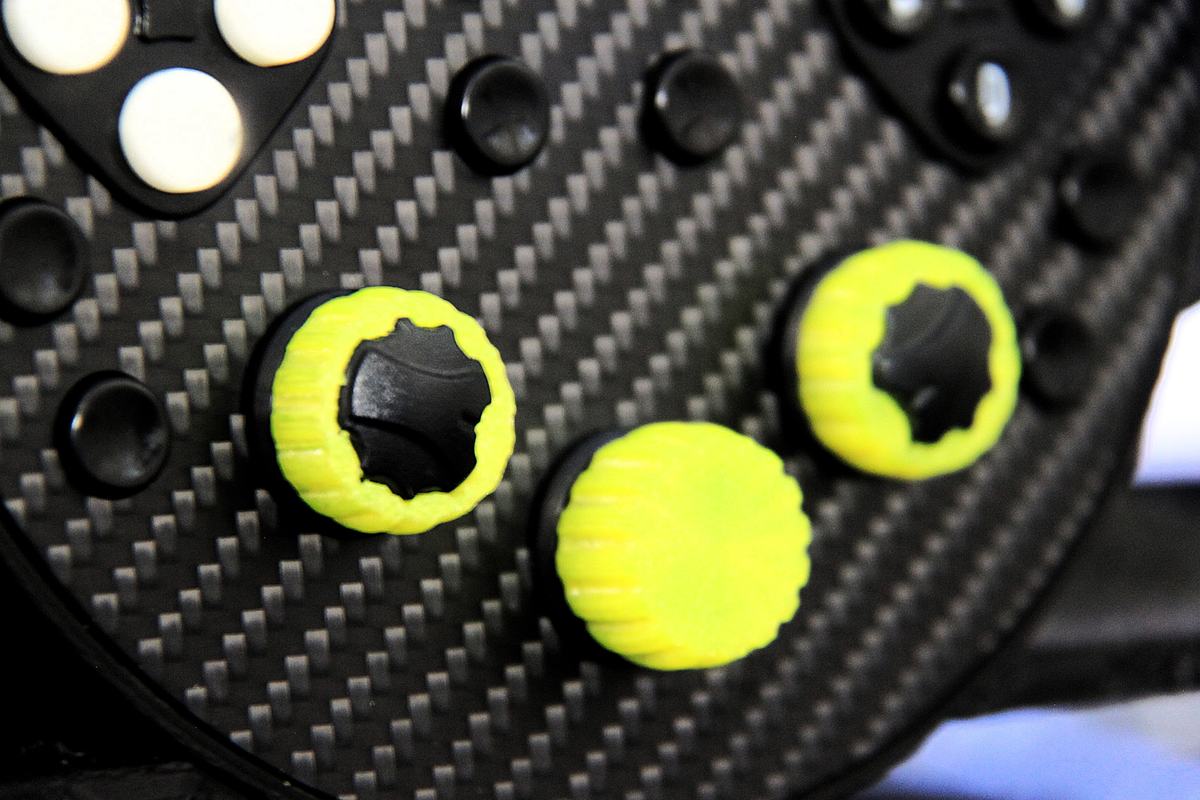
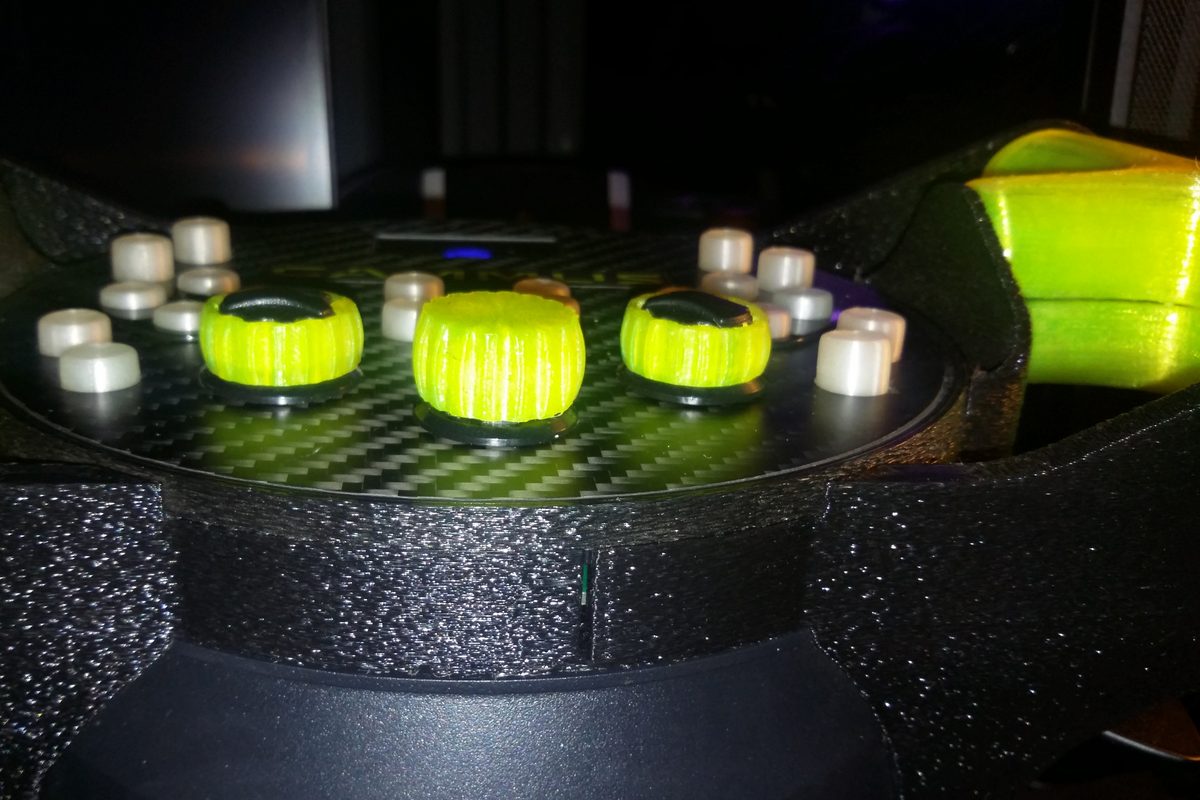
Lime knob caps on the C5's three rotaries
DKS-ROTARY 01

Rotary Knob CapsFree

Caps that press onto the C5's three rotary knobs. Bigger than the stock knobs and easier to find by feel in the middle of a corner — and they match the grips.

Fits All 3 rotaries
Material TPU · any colour
Modifies the C5 No
Price Free
FreePress on, no tools
Download free · ZIP

Bought DKS-01? It is already in your download.

Build yours

The files

STL and 3MF files, with my print settings already in the 3MF. You print it on your own machine.

1 · What you want
2 · Send me the request
Also on

Model platforms

The kit is also on Cults3D, at the same €29. Cults3D takes the payment and the download starts straight away — no waiting for an email.

How buying works

No account, no checkout

Send the request above, or write to dkalimah@live.com.

  • I reply with a payment link
  • The ZIP arrives by email once it is paid
  • Licensed for your own use, not for resale
How it was made

Sketched, modelled, printed, raced. Then fixed.

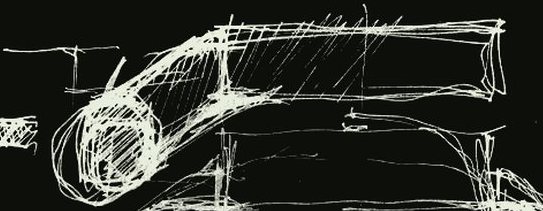
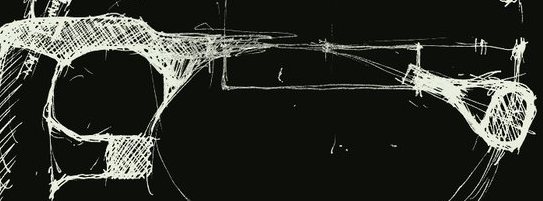
The grips started as pen sketches — three passes on the handle profile before anything was modelled. Then the whole kit was built in Revit around the C5's real dimensions, printed, and driven on my own rig.

The grip infill took the longest: too dense and it feels like a plastic tube, too open and it squashes in your hand. I printed the same handle over and over until one was right. That number is in the 3MF files.

01 / First pass
Pen sketch: first grip profile
Barrel, thumb shelf and mounting foot, blocked out.
02 / Second pass
Pen sketch: second grip profile, thinner
Thinner section; the hand's contact patch moves forward.
03 / Final
Pen sketch: final grip profile, hatched solid
The profile that went into the model.
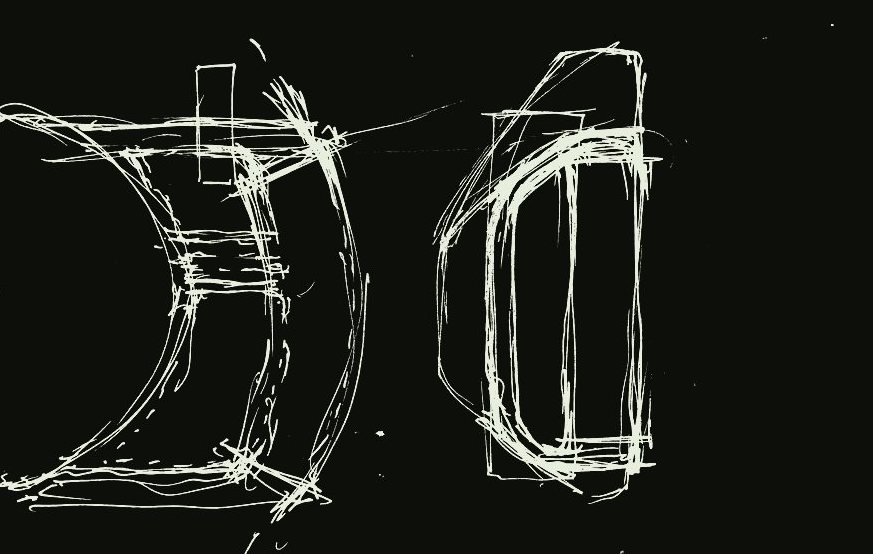
Grip section
Pen section drawings through the grip
Section through the handle — wall thickness, and where the hand actually sits.
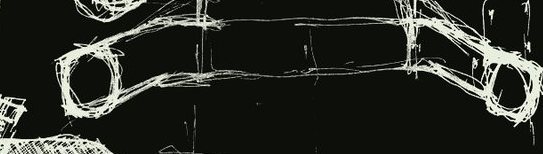
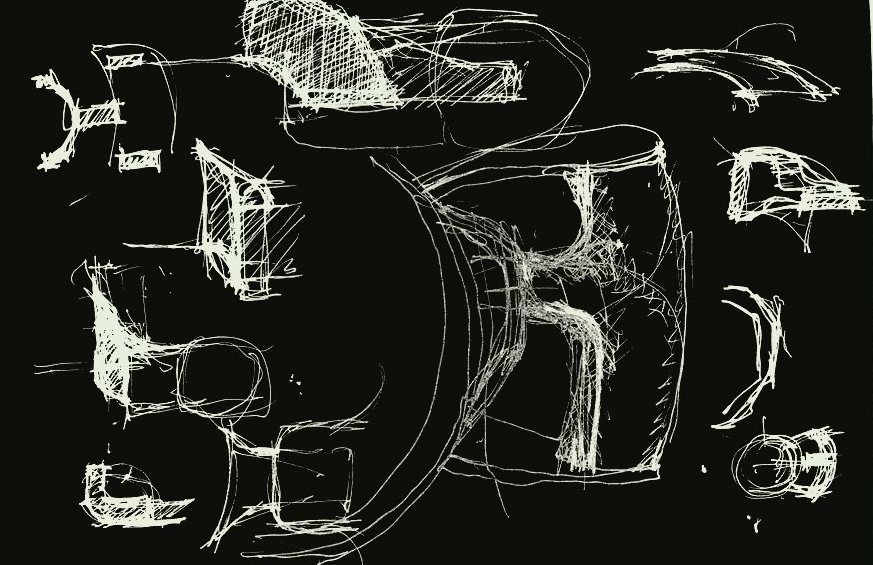
Spoke plates
Pen studies of the spoke plate geometry around the C5
Working out the plates around the C5's body, so nothing on the carbon face is covered.

There are more C5 parts in the sketchbook. They go on this page when they have been printed and raced, not before.

Questions

Straight answers
Does it fit the C12, or a Moza, Fanatec or Simagic base?

No. Every dimension is taken from a CAMMUS C5. The plates register on the C5's body and screw points. If enough people ask for another base, I will measure that base properly rather than scale this one.

Do I lose any buttons, the display, or the paddles?

No. The carbon face with the display, LEDs, 12 buttons, 3 knobs and D-pad sits in the middle of the kit, untouched. The paddles are the C5's own and stay where they are. The kit adds the GT shape around all of it.

Is printed plastic strong enough on a 5 Nm direct-drive wheel?

Yes, printed as specified. The left and right spoke plates are what carry the force: they screw to the C5's body and the grips are glued around them. That is why they are reinforced — 7 walls, 1 mm top and bottom skins, and printed upright so the layers run along the spoke. I have raced on mine for months. The structure is PETG, not PLA, because a cockpit gets warm and PLA softens at around 55 °C.

How long does it take to fit?

About half an hour with an Allen key for the ring and the two plates. Then the two halves of each grip are glued to each other around the plate and clamped tight with a fabric strap until the glue sets. Nothing is cut or drilled, and it comes off the same way if you ever want the round rim back.

Why does the fan mount need rewiring?

The Noctua comes with a 4-pin PWM plug, and the C5's fan socket takes a 3-pin JST. So the plug comes off and a JST goes on — cutting and crimping on a 24 V line, and losing PWM speed control in the process. The fan runs at whatever speed the socket gives it, which on a Noctua is still far quieter than the stock fan. If you have never crimped a connector, this is not the mod to learn on.

Can I sell prints of your parts?

The files are for your own use. If you want to print and sell them, message me and we will agree terms.

I do not have a 3D printer.

Take the files to a local print shop, or a friend with an FDM printer — the 3MF has all the settings. I do not sell printed parts, only the files.